 |
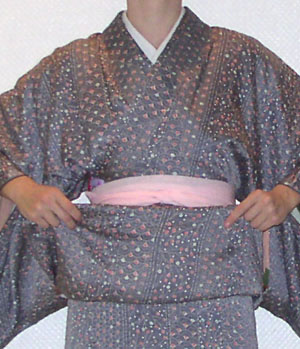
Putting on a kimono: Finishing steps Now that you've put on the kohlin belt or otherwise arranged your lapels (these instructions don't show another option, which is to secure them with a koshihimo), it's time to make a nice ohashori. Depending on the length of your kimono, you may need to shorten your ohashori (the fold at the hips). If you need to do so and have used a kohlin belt, put on a koshihimo just beneath the kohlin belt. Fold up the excess until your ohashori is the right length, and tuck it into the koshihimo temporarily. Don't worry about the back (unless you have someone helping you). |
 |
Put on a datejime, covering the folded excess. (Instructions for tying a datejime. The datejime in this photo is an older type with cords.) Your ohashori should be slightly longer than an index finger beneath the datejime. The proper length is an index finger beneath the tied obi; since a datejime isn't as wide as an obi, make it a touch longer. If you have a shorter kimono, you may not need to fold up any excess to get the right length ohashori. You'll notice that the collar tends to move around a bit while you're dressing; check it occasionally. You can see that mine has inched up on one side. |
 |
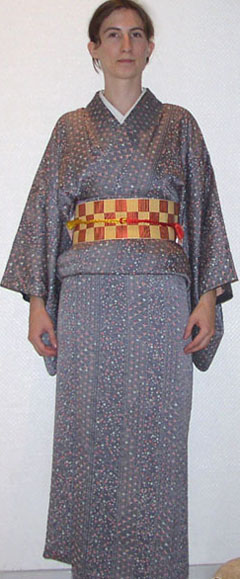
Again, pull any excess fabric in the back to the sides and pull on the kimono beneath the datejime so that no excess is bloused above it. This photo shows how the datejime should cross over in back. The ohashori in back isn't of much concern, as it's usually covered by the tare (tail end) of a taiko musubi. If you're going to wear an obi musubi that won't cover the back ohashori, have someone help you arrange it as for the front. Now you're ready to tie an obi musubi! |
Back to kimono.fraise.net |
|