 |
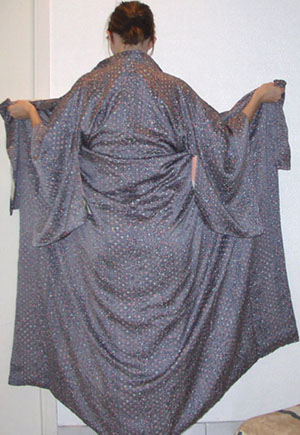
Putting on a kimono: Up to the first koshihimo Accessories required for all steps: Note: Here I use "collar" to designate the collar at the neck, while "lapel(s)" refers to the collar as it is laid in front. Think of a jacket: the collar and lapels are attached, but are different parts. Not photographed: After preparing the eri (collar), take up your juban sleeves with each hand, releasing them once your arms are in the kimono sleeves. Check that the back collar is correctly placed. Center the kimono by taking the end of each sleeve armhole with your hands and pulling on them simultaneously. Photographed: with each hand, grab the kimono lapels at arm's legth. Pull to the sides, with the back seam centered, and lift up so that the back hem is an inch or less (2cm) above the floor. Note: for more formal kimono, the back hem should just touch the floor. |
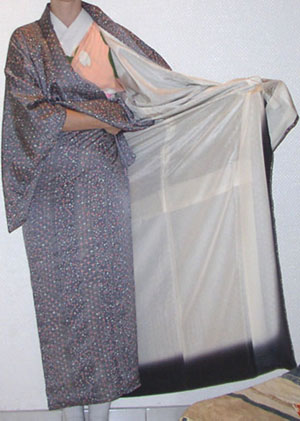 |
Wrap the right panel over, using your arm to hold up excess fabric. The right panel hem should be angled upwards, to your left. If your kimono hem is still too high (as in my photo), lower your arms gently, thus lowering the hem. Not photographed: Wrap the left panel over and determine whether you need to adjust the right panel to have the proper look. The left (front) panel's edge should fall at the front of your side. You'll probably need to adjust the right (covered) panel to achieve this. In these instructions, my kimono is much bigger around than I am - as a result, the front panel is a bit too far to the side. If I adjusted it for the proper look, the center back seam would be at my side! (I plan to add a photo with a different kimono later to illustrate the right look.) |
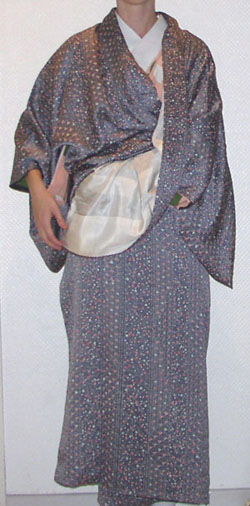 |
Wrap over the left panel, again using your arm to hold up the bloused fabric. The front panel hem should also be angled slightly upwards, to your right. Both hems should form a sort of flattened X. Not photographed: while holding up the extra fabric with one arm, grab a koshihimo and place its center at your middle front. Carefully wind both ends around, tight enough to hold the kimono securely, and tie once in front (half knot). Lock the half knot by twisting the koshihimo ends to the opposite sides, then tuck them in. |
 |
This photograph shows what your koshihimo should look like when finished tying. Be sure to check at the sides and in back for any excess fabric that may have been caught in the koshihimo. If too much was caught, your koshihimo may end up too loose, in which case you'll need to retie it. Also check that your collar is placed correctly, as it tends to move around during the previous steps. This part does take some practice! |
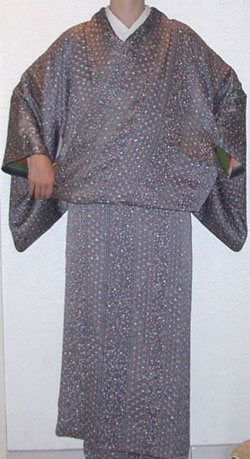 |
Neatly fold the bloused fabric over the koshihimo. Straighten the lapels by pulling on either end - place your left hand into the underarm hole to reach the inside lapel. |
Back to kimono.fraise.net |
|